There are some differents between apache and nginx so you may have to adjust some settings for your web-sites.
nginx does not support .htaccess
nginx does not use different apache-modules like mod_rewrite
You can use different online-converters like www.anilcetin.com to move the configs from apache to nginx. But keep in mind, that it´s not guranteed, that the convert works with out any errors. I used for different (very simple) htaccess without any problems
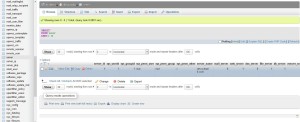
If you change the webserver in ISPConfig from apache to nginx, you can´t see your additional apache directives in the interface (but they are still in the database). You can browse through all you websites and write down the directives or you can grab them from the databse using phpmyadmin or mysql with this sql-command:
SELECT domain, apache_directives FROM web_domain WHERE apache_directives != '';
To find all .htaccess files, you ran run find /var/www/clients/ -name .htaccess -not -path "*/stats/*".
1. install nginx
apt-get install nginx
2. install php-fpm
apt-get install php5-fpm
and make sure, that /etc/php5/fpm/php.ini contains:
cgi.fix_pathinfo=0
date.timezone=”Europe/Berlin”
Restart php-fpm with /etc/init.d/php5-fpm reload.
Now nginx is installed but apache is still your active webserver.
3. enable Maintaince mode
Enable the Maintenance Mode in ISPConfig under System / Mainconfig on the tab Misc to prevent changes during the migration.
4. switch to nginx in ISPConfig
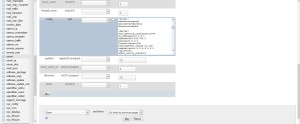
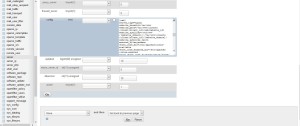
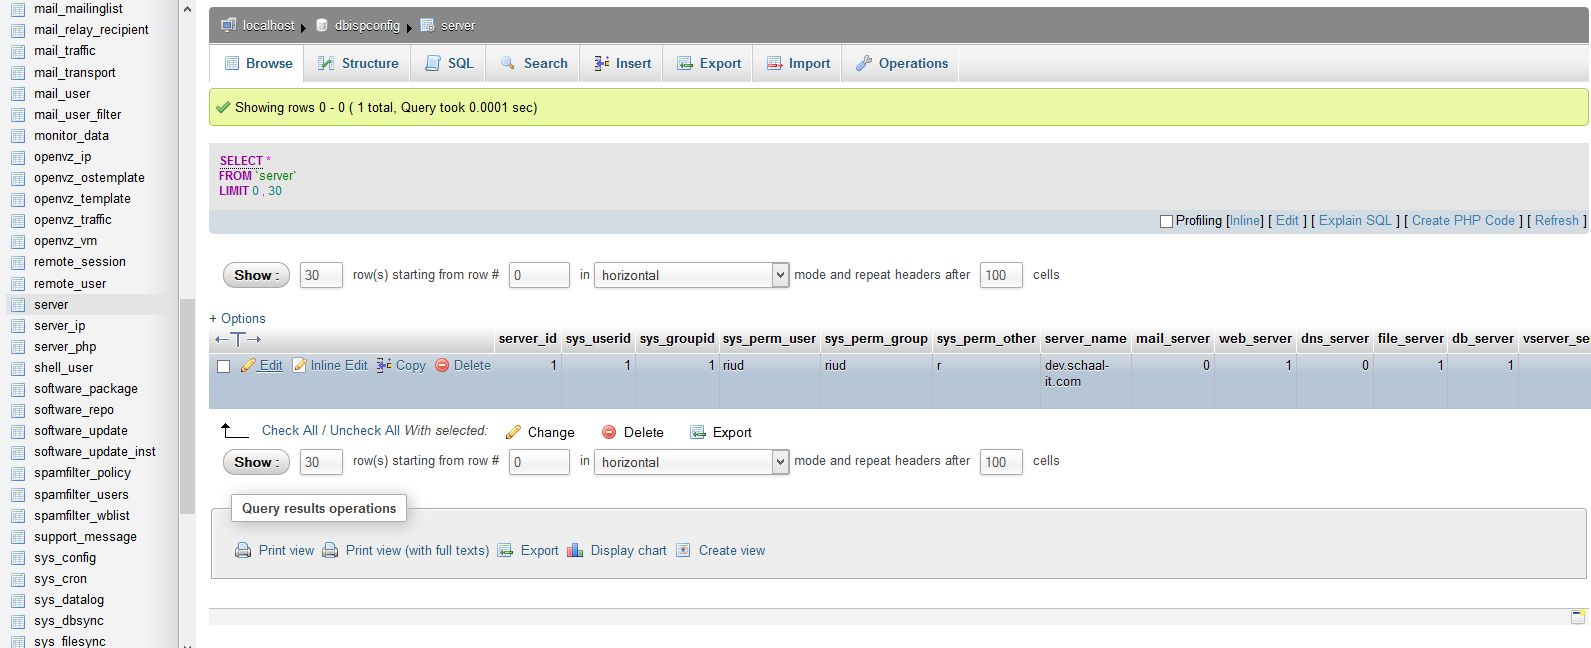
Login as root into phpmyadmin, open the database dbispconfig, select the table server and edit the server.
Scroll down to config and find the line [global] finden. In the next line replace
webserver=apache
with
webserver=nginx
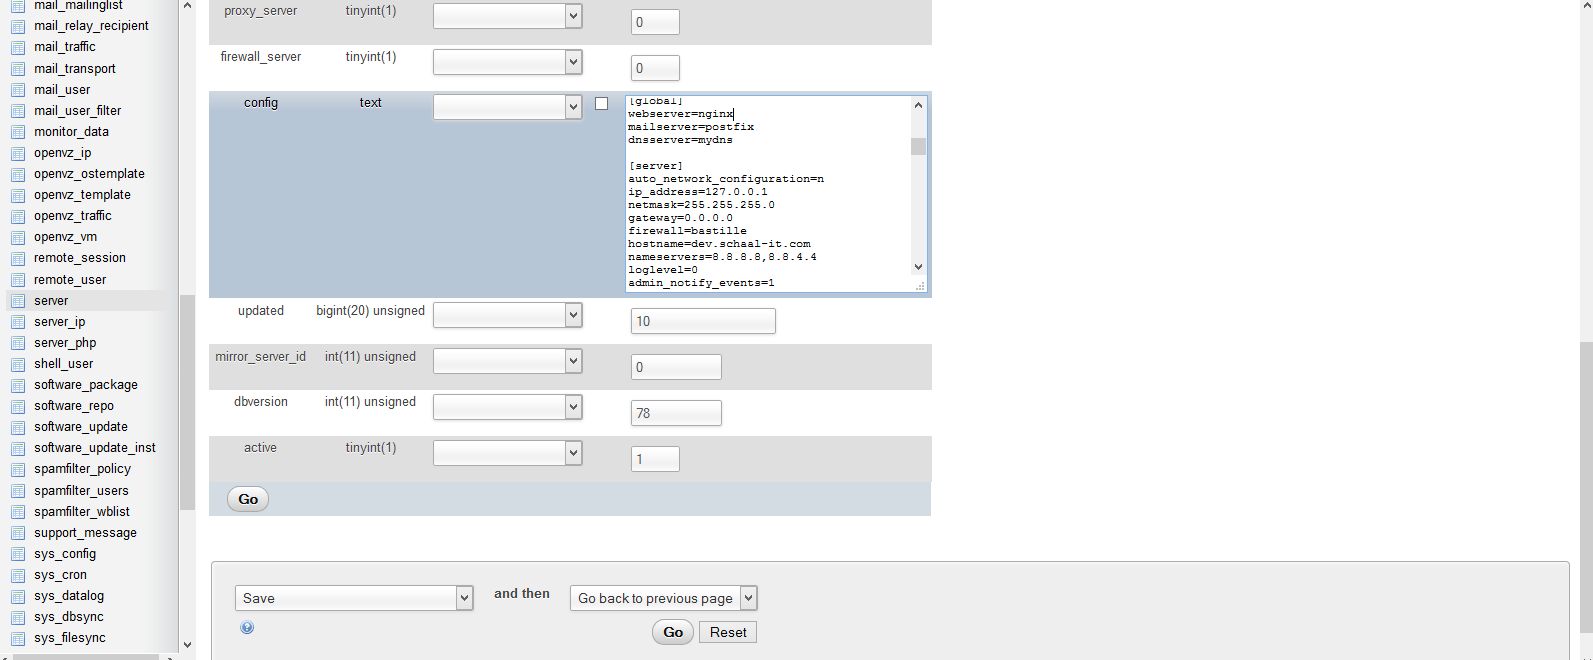
Scroll futher down to the line [web] And change the next line from
server_type=apache
to
server_type=nginx

6. Create ispconfig.vhost in /etc/nginx/sites-available:
vi /etc/nginx/sites-avaliable/ispconfig.vhost
and paste one of the following contents:
with SSL:
server {
listen 8080;
ssl on;
ssl_protocols TLSv1 TLSv1.1 TLSv1.2;
ssl_certificate /usr/local/ispconfig/interface/ssl/ispserver.crt
ssl_certificate_key /usr/local/ispconfig/interface/ssl/ispserver.key;
server_name _;root /usr/local/ispconfig/interface/web/;
client_max_body_size 20M;
location / {
index index.php index.html;
}# serve static files directly
location ~* ^.+.(jpg|jpeg|gif|css|png|js|ico|html|xml|txt)$ {
access_log off;
}location ~ \.php$ {
try_files $uri =404;
include /etc/nginx/fastcgi_params;
fastcgi_pass unix:/var/lib/php5-fpm/ispconfig.sock;
fastcgi_index index.php;
fastcgi_param SCRIPT_FILENAME $document_root$fastcgi_script_name;
#fastcgi_param PATH_INFO $fastcgi_script_name;
fastcgi_buffer_size 128k;
fastcgi_buffers 256 4k;
fastcgi_busy_buffers_size 256k;
fastcgi_temp_file_write_size 256k;
}location ~ /\. {
deny all;
}
}
without SSL:
server {
listen 8080;
ssl off;
server_name _;root /usr/local/ispconfig/interface/web/;
client_max_body_size 20M;
location / {
index index.php index.html;
}# serve static files directly
location ~* ^.+.(jpg|jpeg|gif|css|png|js|ico|html|xml|txt)$ {
access_log off;
}location ~ \.php$ {
try_files $uri =404;
include /etc/nginx/fastcgi_params;
fastcgi_pass unix:/var/lib/php5-fpm/ispconfig.sock;
fastcgi_index index.php;
fastcgi_param SCRIPT_FILENAME $document_root$fastcgi_script_name;
#fastcgi_param PATH_INFO $fastcgi_script_name;
fastcgi_buffer_size 128k;
fastcgi_buffers 256 4k;
fastcgi_busy_buffers_size 256k;
fastcgi_temp_file_write_size 256k;
}location ~ /\. {
deny all;
}
}
And create the symlink with
ln -s /etc/nginx/sites-available/ispconfig.vhost /etc/nginx/sites-enabled/000-ispconfig.vhost
7. adjust websites
Disable the Maintaince Mode and convert existing htaccess-file and apache-directives and insert the new values in the webinterface for each website.
If you did not change all websites, run the resyn-tool for the websites.
8. disable apache and start nginx
/etc/init.d/apache2 stop
update-rc.d -f apache2 remove
/etc/init.d/nginx start
Done
If you need to switch-back to apache, just revert the steps 4. and 8.