from here
Caching name servers using ‘Unbound‘ ( is a validating, recursive, and caching DNS server software ), back in RHEL/CentOS 6.x (where x is version number), we used bind software to configure DNS servers.
Here in this article, we are going to use ‘unbound‘ caching software to install and configure a DNS Server in RHEL/CentOS 7 systems.

Setup Cahing DNS Server in RHEL/CentOS 7
DNS cache servers are used to resolve any DNS query they receive. If the server caches the query and in future the same queries requested by any clients the request will be delivered from DNS ‘unbound‘ cache, this can be done in milliseconds than the first time it resolved.
Caching will only act as a agent to resolve the query of client from any one of the forwarders. Using caching server, will reduce the loading time of webpages by keeping the cache database in unbound server.
My Server and Client Setup
For demonstration purpose, I will be using two systems. The first system will act as a
Master (Primary)
DNS server and the second system will act as a local
DNS client.
Master DNS Server
Operating System   :    CentOS Linux release 7.0.1406 (Core)
IP Address	   :	192.168.0.50
Host-name	   :	ns.tecmintlocal.com
Client Machine
Operating System   :	CentOS 6
IP Address	   :	192.168.0.100
Host-name	   :	client.tecmintlocal.com
Step 1: Check System Hostname and IP
1. Before setting up a caching DNS server, make sure that you’ve added correct hostname and configured correct static IP address for your system, if not set the system static IP address.
2. After, setting correct hostname and static IP address, you can verify them with the help of following commands.
# hostnamectl
# ip addr show | grep inet
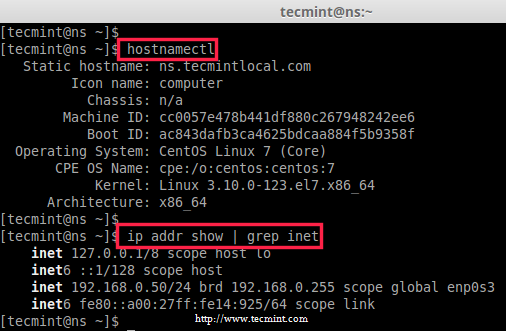
Check IP Address
Step 2: Installing and Configuring Unbound
3. Before installing ‘Unbound’ package, we must update the our system to latest version, after that we can install the unbound package.
# yum update -y
# yum install unbound -y
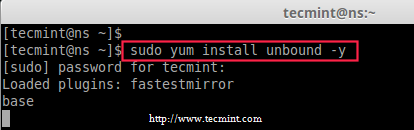
Install Unbound DNS Package
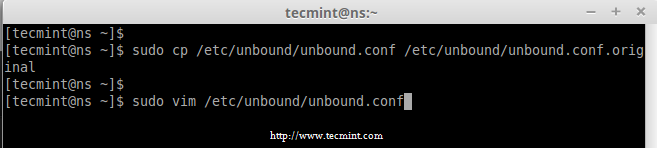
4. After package has been installed, make a copy of the unbound configuration file before making any changes to original file.
# cp /etc/unbound/unbound.conf /etc/unbound/unbound.conf.original
5. Next, use any of your favorite text editor to open and edit ‘unbound.conf‘ configuration file.
# vim /etc/unbound/unbound.conf
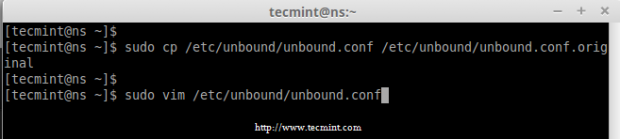
Copy Unbound DNS Configuration
Once the file is opened for editing, make the following changes:
Interfaces
Search for Interface and enable the interface which we going to use or if our server have multiple interfaces we have to enable the interface 0.0.0.0.
Here Our server IP was 192.168.0.50, So, i’am going to use unbound in this interface.
Interface 192.168.0.50
Enable IPv4 and Protocol Supports
Search for the following string and make it ‘Yes‘.
do-ip4: yes
do-udp: yes
do-tcp: yes
Enable the logging
To enable the log, add the variable as below, it will log every unbound activities.
logfile: /var/log/unbound
Hide Identity and Version
Enable following parameter to hide id.server and hostname.bind queries.
hide-identity: yes
Enable following parameter to hide version.server and version.bind queries.
hide-version: yes
Access Control
Then search for access-control to allow. This is to allow which clients are allowed to query this unbound server.
Here I have used 0.0.0.0, that means anyone send query to this server. If we need to refuse query for some range of network we can define which network need to be refuse from unbound queries.
access-control: 0.0.0.0/0 allow
Note: Instead of allow, we can replace it with allow_snoop this will enable some additional parameters like dig and it support both recursive and non recursive.
Domain Insecure
Then search for domain-insecure. If our domain is works with DNS sec keys, we need to define our server available for domain-insecure. Here our domain will be treated as insecure.
domain-insecure: "tecmintlocal.com
Forward Zones
Then change the forwarders for our requested query not fulfilled by this server it will forward to root domain (. ) and resolve the query.
forward-zone:
        name: "."
        forward-addr: 8.8.8.8
        forward-addr: 8.8.4.4
Finally, save and quit the configuration file using wq!.
6. After making the above configuration, now verify the unbound.conf file for any errors using the following command.
# unbound-checkconf /etc/unbound/unbound.conf

Check Unbound DNS Configuration
7. After file verification over without any errors, you can safely restart the ‘unbound’ service and enable it at system startup.
# systemctl start unbound.service
# sudo systemctl enable unbound.service
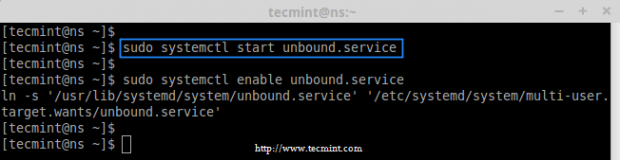
Start Unbound DNS Service
Step 3: Test DNS Cache Locally
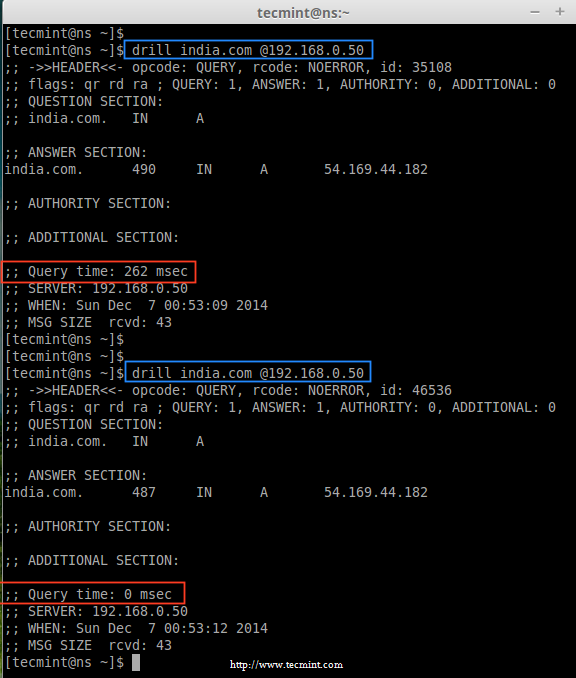
8. Now it’s time to check our DNS cache, by doing a ‘drill’ (query) one ‘india.com‘ domain. At first the ‘drill‘ command results for ‘india.com‘ domain will take some milliseconds, and then do a second drill and have a note on Query time it takes for both drills.
drill india.com @192.168.0.50
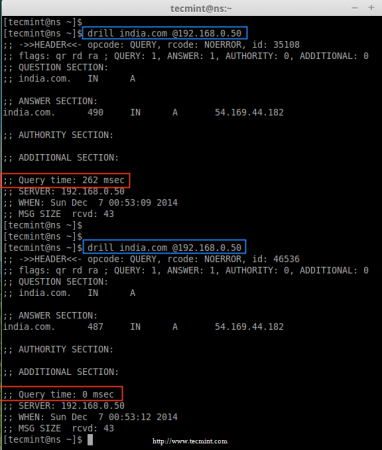
Check DNS Cache Locally
Did you see in the above output, the first query taken almost 262 msec to resolve and the second query takes 0 msec to resolve domain (india.com).
That means, the first query gets cached in our DNS Cache, so when we run ‘drill’ second time the query served from our local DNS cache, this way we can improve loading speed of websites.
Step 4: Flush Iptables and Add Firewalld Rules
9. We can’t use both iptables and firewalld at same time on same machine, if we do both will conflict with each other, thus removing ipables rules will be a good idea. To remove or flush the iptables, use the following command.
# iptables -F
10. After removing iptables rules permanently, now add the DNS service to firewalld list permanently.
# firewall-cmd --add-service=dns
# firewall-cmd --add-service=dns --permanent
11. After adding DNS service rules, list the rules and confirm.
# firewall-cmd --list-all
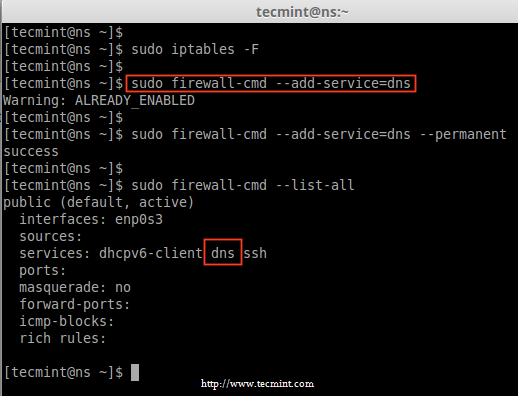
Add DNS to Firewalld
Step 5: Managing and Troubleshooting Unbound
12. To get the current server status, use the following command.
# unbound-control status
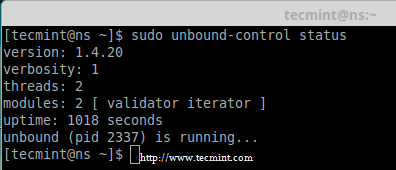
Check Unbound DNS Status
Dumping DNS Cache
13. If in-case you would like to have a dump of a DNS cache information in a text file, you can redirect it to some file using below command for future use.
# unbound-control dump_cache > /tmp/DNS_cache.txt
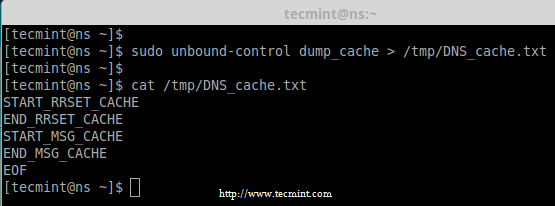
Backup DNS Cache
14. To restore or import the cache from the dumped file, you can use following command.
# unbound-control dump_cache < /tmp/DNS_cache.txt
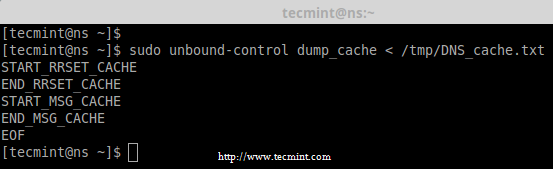
Restore DNS Cache
Flushing DNS Records
15. To check whether the specific address was resolved by our forwarders in unbound cache Server, use the below command.
# unbound-control lookup google.com

Check DNS Lookup
16. Some times if our DNS cache server will not reply our query, in mean time we can use to flush the cache to remove information such as A, AAA, NS, SO, CNAME, MX, PTR etc.. records from DNS cache. We can remove all information using flush_zone this will remove all informations.
# unbound-control flush www.digitalocean.com
# unbound-control flush_zone tecmintlocal.com
17. To check which forwards are currently used to resolve.
# unbound-control list_forwards

Check Current DNS Forwards
Step 6: Client Side DNS Configuration
18. Here I’ve used a CentOS 6 server as my client machine, IP for this machine is 192.168.0.100 and I’m going to use my unbound DNS server IP (i.e Primary DNS) in it’s interface configuration.
Log-into the Client machine and set the Primary DNS server IP to our unbound server’s IP.
Run the setup command and choose network configuration from TUI network manager.
Then choose DNS configuration, insert the unbound DNS server’s IP as Primary DNS, but here i have used both in Primary and Secondary because I don’t have any other DNS server.
Primary DNS	: 192.168.0.50
Secondary DNS	: 192.168.0.50

Select Network Configuration
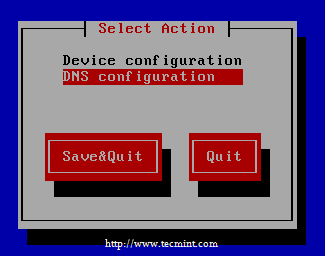
Select DNS Configuration

Enter DNS IP Address
Click OK –> Save&Quit –> Quit.
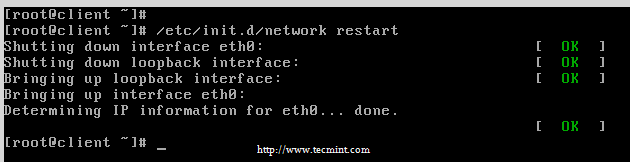
19. After adding Primary and Secondary DNS IP addresses, now it’s time to restart the network using following command.
# /etc/init.d/network restart

Restart Network
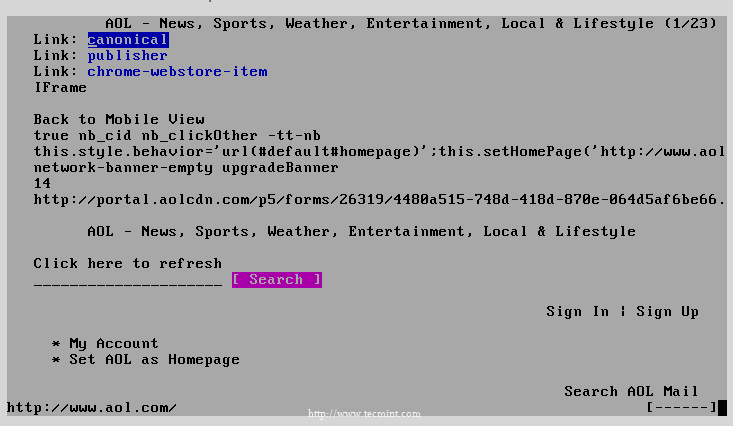
20. Now time to access any one of the website from client machine and check for the cache in unbound DNS server.
# elinks aol.com
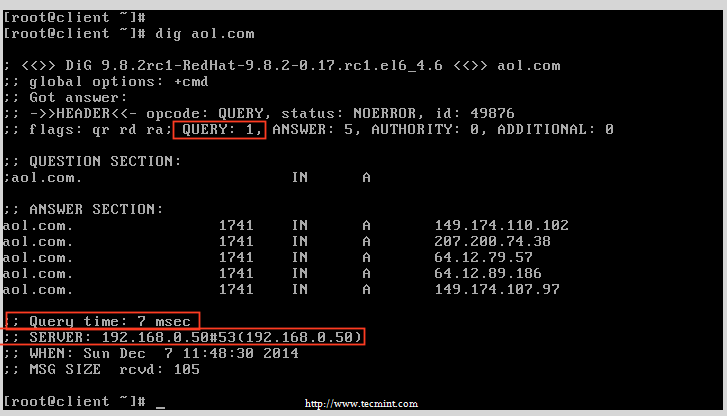
# dig aol.com

Check Website

Query Website
Setup DNSSEC support
Next, we instruct Unbound DNS server to generate RSA keys in order to provide DNSSEC support:
# unbound-control-setup
setup in directory /etc/unbound
generating unbound_server.key
Generating RSA private key, 1536 bit long modulus
.................++++
.........++++
e is 65537 (0x10001)
generating unbound_control.key
Generating RSA private key, 1536 bit long modulus
.........++++
..................................++++
e is 65537 (0x10001)
create unbound_server.pem (self signed certificate)
create unbound_control.pem (signed client certificate)
Signature ok
subject=/CN=unbound-control
Getting CA Private Key
Setup success. Certificates created. Enable in unbound.conf file to use
All what remains is to check Unbound’s configuration:
# unbound-checkconf
unbound-checkconf: no errors in /etc/unbound/unbound.conf
Conclusion
Earlier we were used to setup DNS cache server using bind package in RHEL and CentOS systems. Now, we have seen how to setup a DNS cache server using unbound package. Hope this will resolve your query request quicker than the bind pacakge.